Tuesday, August 21, 2012

Artiste in August day 21

Welcome back for day 21 of the Artiste in August blog hop! If you have come from Tina's blog you are on the right path! The complete list of consultants who are participating in this blog hop is in my sidebar in case you get lost or come across a broken link along the way. 

Todays cut is the tall box. I have made a ton of these in the past, with directions I found on splitcoast stampers. I have to say, the cricut doing all of the cutting work is SO much easier! I know there are a lot more of these boxes in my future.


Please hop along to Gloria's blog next to see what she has created for you!  Hope to see you tomorrow!

Monday, August 20, 2012

Artiste in August day 20

Welcome back for day 20 of the Artiste in August blog hop! If you have come from Tina's blog you are on the right path! The complete list of consultants who are participating in this blog hop is in my sidebar in case you get lost or come across a broken link along the way. 


Today's cut is the super cute basket. I used the "My Peeps" stamp set to create a sweet little Easter basket.


Please hop along to Gloria's blog next to see what she has created for you!  Hope to see you tomorrow!

Sunday, August 19, 2012

Artiste in August Day 19

Welcome back for day 19 of the Artiste in August blog hop! If you have come from Tina's blog you are on the right path! The complete list of consultants who are participating in this blog hop is in my sidebar in case you get lost or come across a broken link along the way. 

Whew! I finally have a new post to show you. The last few days have been super crazy around here.

Today I decided to make the cute little box on page 52 of the handbook. It is 3 1/2 inches tall, by 4 1/2 inches wide when cut at fit to page. 

I made a little box for our next beach trip, which won't be until next summer. :( Sometimes living in landlocked Oklahoma isn't all it is cracked up to be, LOL. 


I made note cards to go into the box, white daisy cardstock cut at 3 1/4 by 4 1/4. I stamped each one with different sea creatures. On our next vacation involving a beach, I will have my family write down favorite memories from each day, and use them for journaling when I scrapbook the pictures.
Please hop along to Gloria's blog next to see what she has created for you!  Hope to see you tomorrow!

Saturday, August 18, 2012

Artiste in August day 18

Welcome back for day 18 of the Artiste in August blog hop! If you have come from Tina's blog you are on the right path! The complete list of consultants who are participating in this blog hop is in my sidebar in case you get lost or come across a broken link along the way. 

Please come back a little later this afternoon to see today's creation. I fell asleep last night before I could finish up.
Please hop along to Gloria's blog next to see what she has created for you!  Hope to see you tomorrow!

Friday, August 17, 2012

Artiste in August day 17

Welcome back for day 17 of the Artiste in August blog hop! If you have come from Tina's blog you are on the right path! The complete list of consultants who are participating in this blog hop is in my sidebar in case you get lost or come across a broken link along the way.


I am not participating in the hop today, since I have been swamped with back to school stuff. :) Please come back tomorrow for a new post. 

Please hop along to Gloria's blog next to see what she has created for you!  Hope to see you tomorrow!

Thursday, August 16, 2012

Artiste in August day 16

Welcome back for day 16 of the Artiste in August blog hop! If you have come from Tina's blog you are on the right path! The complete list of consultants who are participating in this blog hop is in my sidebar in case you get lost or come across a broken link along the way. 

Today's cut is the Christmas tree boxes on page 53 of the handbook. These boxes are so simple to assemble, I would like to make several for my mantle this Christmas. 
I added a tag cut with Art Philosophy, and a few bitty sparkles. This entire project took less than half an hour to assemble, which is always nice. :)

Please hop along to Gloria's blog next to see what she has created for you!  Hope to see you tomorrow!

Wednesday, August 15, 2012

Artiste in August day 15

Welcome back for day 15 of the Artiste in August blog hop! If you have come from Tina's blog you are on the right path! The complete list of consultants who are participating in this blog hop is in my sidebar in case you get lost or come across a broken link along the way. 

Today's cut is the purse on page 41 of the handbook. I am in LOVE with this little purse. I can foresee all sorts of gifts being put into these in the future, a small thing of hand sanitizier, a tube of chapstick, jewelry, fingernail polish, and so on. 

Here is my version of this purse.

I used a sheet of Roxie paper to create this purse. I am sure going to miss this paper when my stash runs out. 

Please hop along to Gloria's blog next to see what she has created for you!  Hope to see you tomorrow!

Tuesday, August 14, 2012

Artiste in August day 14


Welcome back for day 14 of the Artiste in August blog hop! If you have come from Tina's blog you are on the right path! The complete list of consultants who are participating in this blog hop is in my sidebar in case you get lost or come across a broken link along the way. 

Today we have made the bow tie box on page 75 of the handbook. This box would be fabulous for a wedding, prom, or other formal event.


I scored vertical lines every 1/4 inch across the front part of the box before assembling to create the look of pinstripes on the "shirt". The color combination was inspired by my son's prom banquet attire, from May 2011.

Sigh. I can't believe it was that long ago already. He's starting his second year of college next week, and my other children begin school today! My daughter will be a high school senior, and my baby will be in third grade. Time has sure flown!Please hop along to Gloria's blog next to see what she has created for you! 

Monday, August 13, 2012

Artiste in August day 13

Welcome back for day 12 of the Artiste in August blog hop! If you have come from Tina's blog you are on the right path! The complete list of consultants who are participating in this blog hop is in my sidebar in case you get lost or come across a broken link along the way.

Happy Monday! Today we are all making the strawberry box on page 72 of the handbook. When I first began making this box, I decided I wanted to do something a little bit different than just a strawberry. As with most things in life, chocolate makes everything better, so I decided to make a chocolate covered strawberry. 


After cutting out the strawberry, I randomly stamped versamark ink onto the bottom half of the strawberry, (before folding up the box) and then sprinkled brown embossing powder over the ink. Once that was heated up and cooled slightly, I used my embossing pen to add a little more powder to a few spots. I really like the way this turned out. 


I used some gingham ribbon I had in my stash to hold the box together and add the leaf to the top. 

Thanks for stopping by, be sure to head over to Gloria's blog to see what she has created for you today!

Sunday, August 12, 2012

Artiste in August Day 12

Welcome back for day 12 of the Artiste in August blog hop! If you have come from Tina's blog you are on the right path! The complete list of consultants who are participating in this blog hop is in my sidebar in case you get lost or come across a broken link along the way.

Today is an Artist's choice day. I decided to do the scalloped top box on page 79 of the book. 

I cut this with the fit to page feature. I used the Lucy paper pack (retired) to make the base of the box, and then also cut out the cute word caption sign at 1 3/4 inches to match the size of one of the stamp sets included in Artiste bundle. 

Thanks for stopping by, be sure to head over to Gloria's blog to see what she has created for you today!

Friday, August 10, 2012

Artiste in August day 11

Welcome back for day 11 of the Artiste in August blog hop! If you have come from Tina's blog you are on the right path! The complete list of consultants who are participating in this blog hop is in my sidebar in case you get lost or come across a broken link along the way. 

Unfortunately, I don't have anything new to show you today. :( This has been a crazy week, as I have gone back to work from summer vacation. Please stop back by tomorrow for a new post. 


Please hop along to Gloria's blog next to see what she has created for you! See you tomorrow.

Artiste in August Day 10

Welcome back for day 10 of the Artiste in August blog hop! If you have come from Tina's blog you are on the right path! The complete list of consultants who are participating in this blog hop is in my sidebar in case you get lost or come across a broken link along the way. 


Today is an "anything goes" day, as far as which cut we chose to use. I decided to but out the purse on page 33 of the handbook. 
 I used the rose paper from Dotty for You, but this paper could easily be recreated with the Card Word Puzzle stamp set. The smoothie and lagoon roses on the front of the purse were stamped with the same color ink, and hand cut before being added to the front of the box. A little glitter gel added some bling.


thanks for stopping by!
Now, hop on along to Gloria's blog to see what wonderful artwork she has created for you!

Thursday, August 9, 2012

Artiste in August day 9

Welcome back for day 9 of the Artiste in August blog hop! If you have come from Tina's blog you are on the right path! The complete list of consultants who are participating in this blog hop is in my sidebar in case you get lost or come across a broken link along the way. 

Today's project is the flower top box on page 36 of the handbook. Our double sided paper is PERFECT for this type of project. I used my last sheet of Olivia paper to create this cut. I hesitate to call it a box, because the finished size is not deep at all. This cut would be a good way to present a gift card, cash, or to hold a small card. 

I finished off the top with a bling button, and a little bit of sunset bakers twine. 


Now, hop on along to Gloria's blog to see what wonderful artwork she has created for you!

Wednesday, August 8, 2012

Artiste in August Blog Hop day 8

Welcome back to the Artiste Blog Hop! If you have come from Tina's blog you are on the right track. The complete list of consultants participating in this blog hop is in my sidebar in case you get lost along the way, or find a broken link.

Today we are making the pie box on page 70 of the handbook. MMMMM, Pie! As I may have mentioned before, I love anything lemon flavored, so when I thought of pie, I automatically picture lemon meringue pie. I  decided to make a cheery yellow pie box. 

I used some of the yellow polka dotted paper from the Dotty for You paper pack (retired), as well as some white daisy card stock to create this box. I cut the pie box out at the fit to page button, which cut it out at 6 inches, I believe. I cut another top out at 5 3/4 inches, and trimmed off the scalloped edges to create a template for the top of the box. I was able to use the scrap piece of paper from the bottom of the box to hand cut a piece of polka dotted paper for the top of this box. 
 The tag on the box was cut with the Art Philosophy cartridge from CTMH, and stamped in sunny yellow with the Enjoy stamp set. I used an eyelet and a small safety pin to attach the tag to the ribbon. The ribbon is leftover from a school project.
View of the side of the box. I used the Eclectic Edges stamp set to add a little more color to the side of the white card stock. 

This cut is sure to be used many times in my future. I think it would be perfect for bake sales!

I wonder if I have lemon pudding mix in the pantry, I may need to go make a lemon meringue pie now. :)

Thanks for stopping by, be sure to come back tomorrow to see more great projects using the Artiste cartridge! Now, "hop" along to Gloria's blog to see more amazing artwork!

Monday, August 6, 2012

Artiste in August Day 7


Welcome back to day 7 of the Artiste in August blog hop! If you have come from Tina's blog you are on the right path. If not, this is a circular hop, so you can start right here. :) I have a complete list of the consultants who are participating in the hop in my sidebar on the right if you get lost or come across a broken link along the way.

Today we are showcasing the 20 circles ball on page 57 of the handbook. This one was tricky for me to figure out, but once I realized how to do the middle section, it came together very quickly. The book recommends cutting the circles at 1 inch, I chose to make mine at 2 inches so I could see the score lines better.

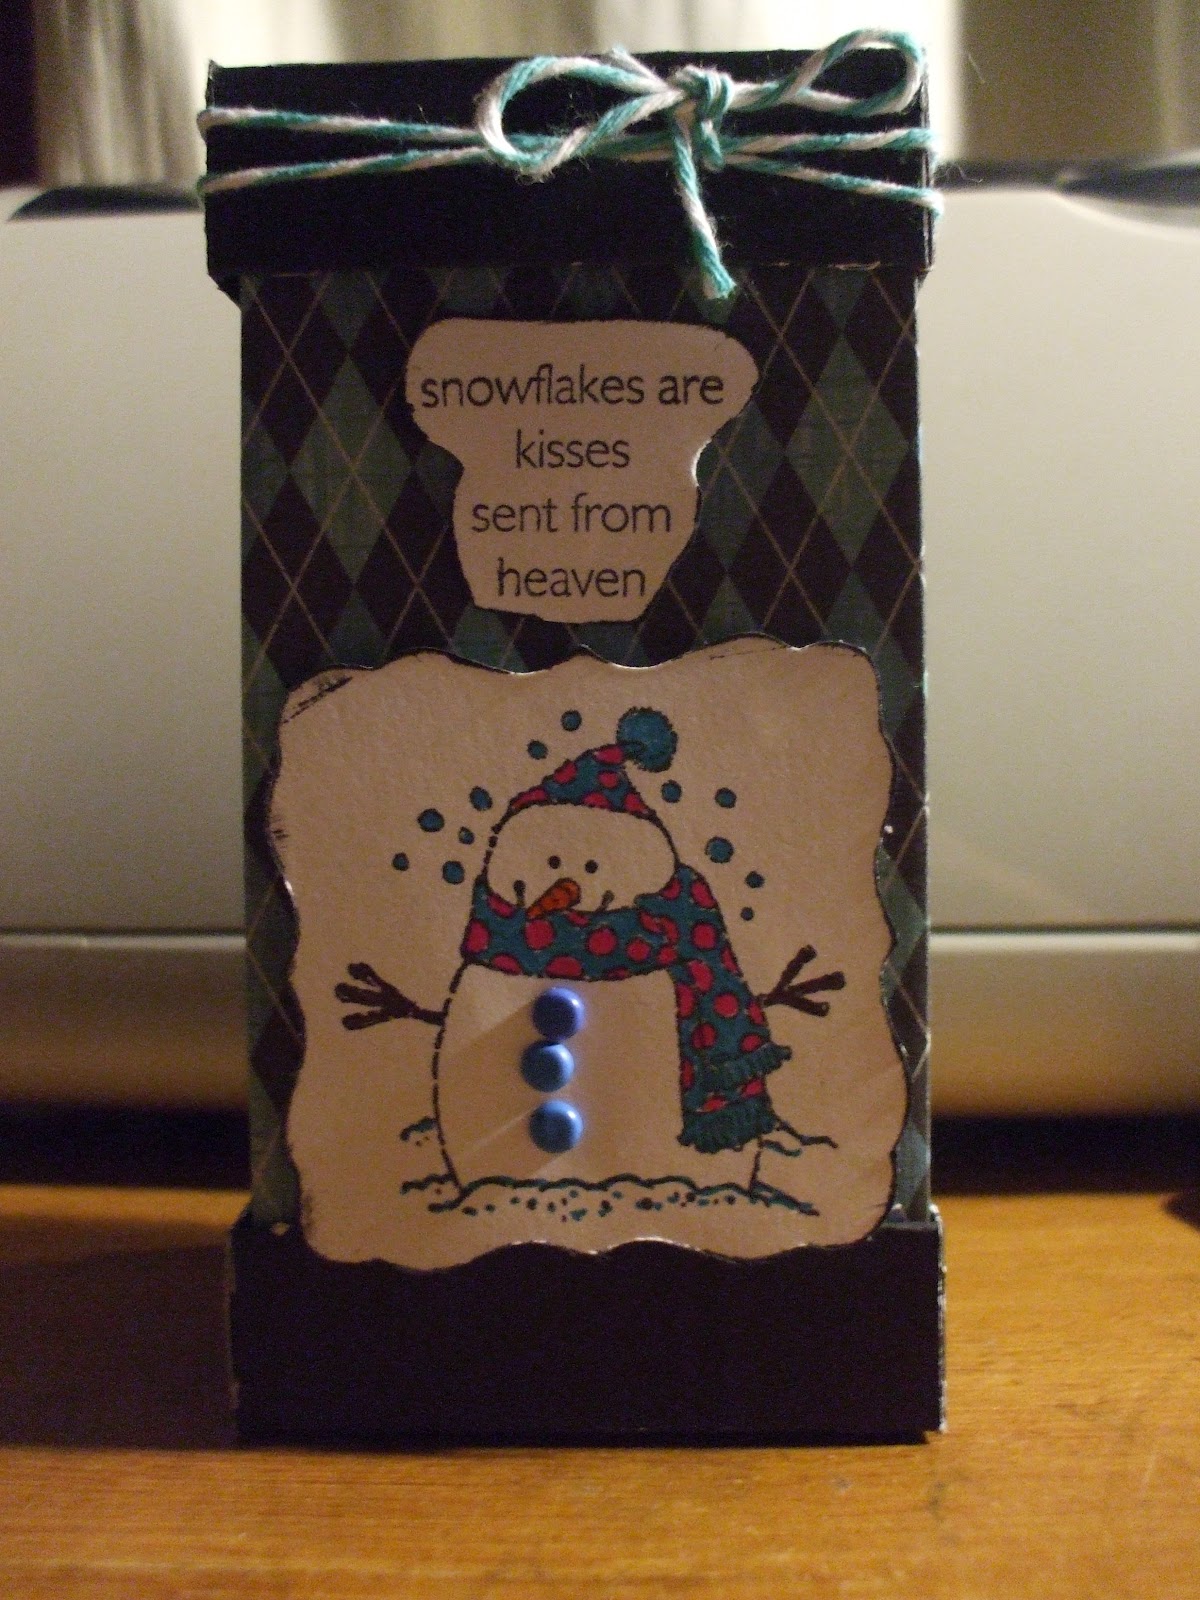
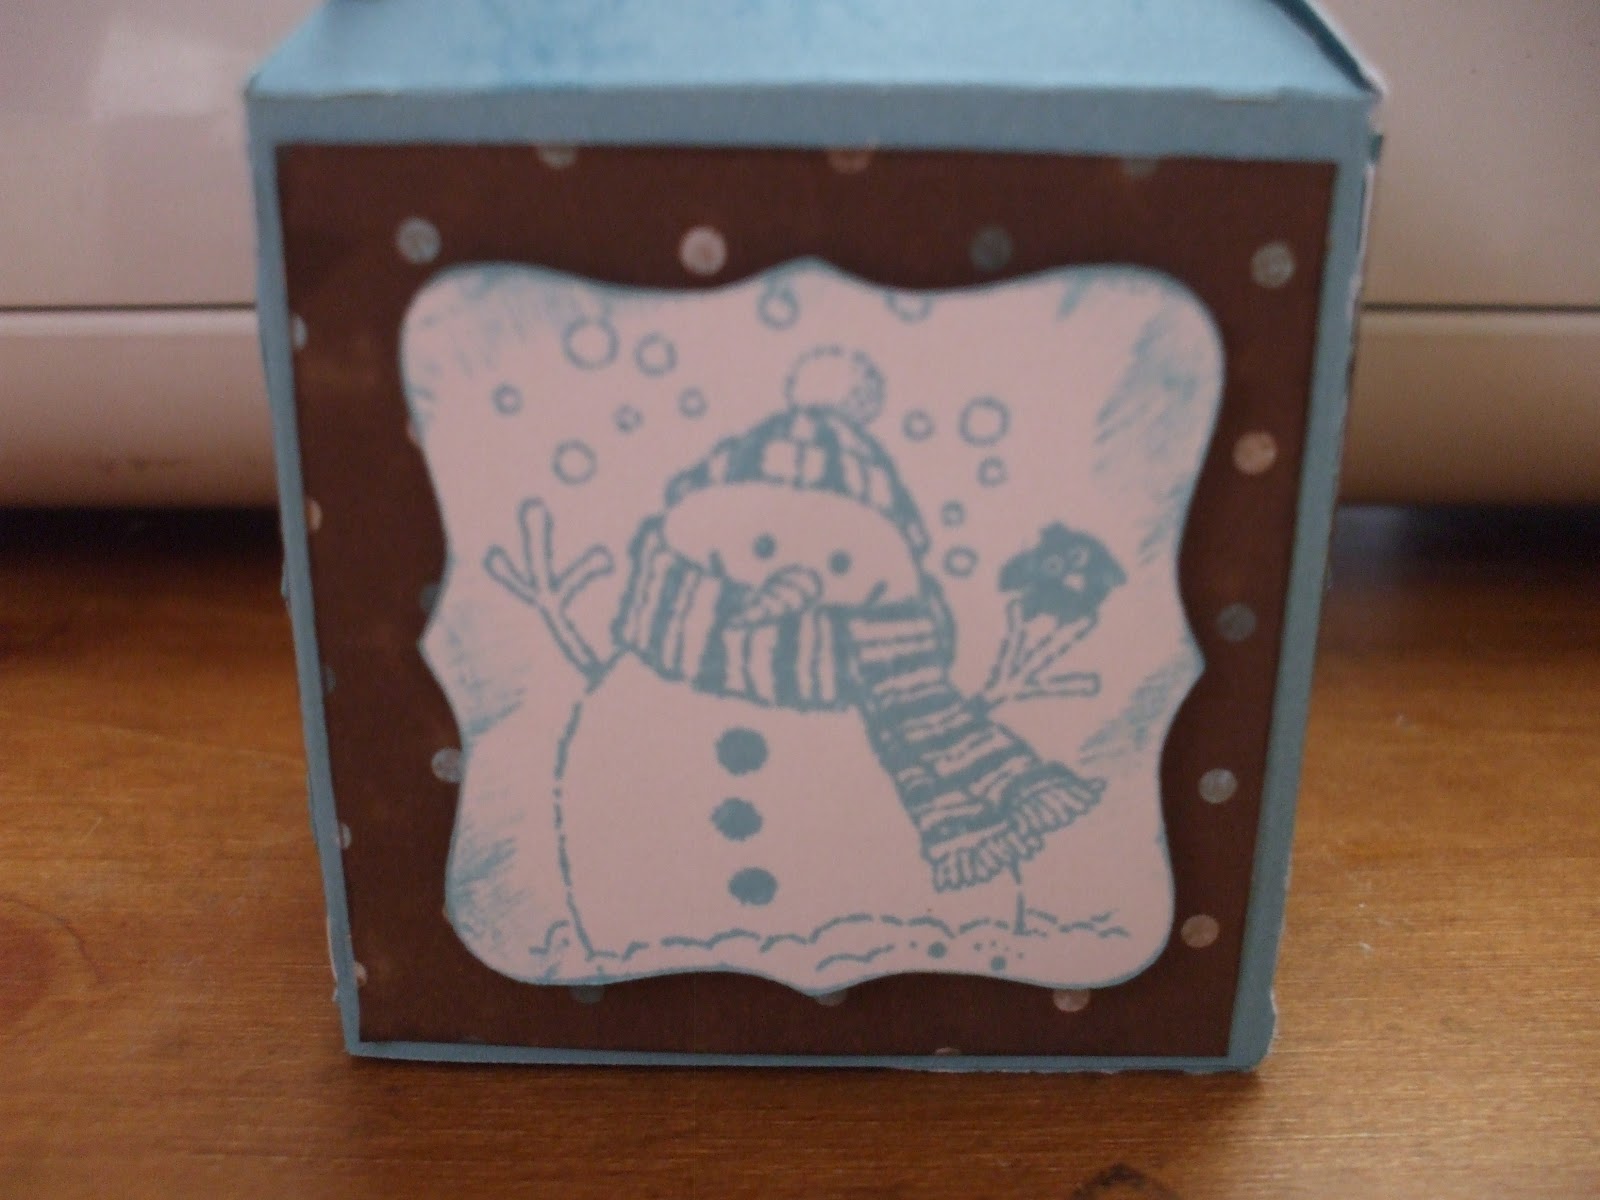
Here's a close up of one of the panels:

I decided to use the cuttlebug resist technique to add a little pop to my ball. After cutting the circles out I went ahead and folded on the score lines, so that it would be easier to see them once the ink was applied. I inked up the top of the cuttlebug folder with sky ink, and ran two circles through the folder at a time. It is hard to see, but I also inked the edges of each circle before assembly.
Here is a picture of the cuttlebug folder ready to go.

To make a hanger for the ball, I threaded some jute thread through a button, and made a loop at the top in the length I wanted the hanger to be. I tied knots on the top and bottom of the button to hold it in place, then threaded it through the small hole at the top of the first portion of the ball.

Here's a little assembly tip. Once the first 5 circles are adhered together, the bottom should look like this. You are going to add another circle to each of these, and then another circle in between each of those 5 pieces. So, just stick down the 5 that attach to this piece, but do not adhere them together, since you will need to put another piece in between them. Once you do that, you should be able to see how the bottom will attach, it will look just like this piece.

This one was a real challenge for me, but I am very pleased with the final result!

Thanks for stopping by! Now hop on over to Gloria's blog to see what she has created. I know it will be fabulous!

Artiste in August Day 6

Welcome back to day 6 of the Artiste in August blog hop! If you have come from Tina's blog you are on the right path. If not, this is a circular hop, so you can start right here. :) I have a complete list of the consultants who are participating in the hop in my sidebar on the right if you get lost or come across a broken link along the way.

Today, we are showing you the adorable baby shoes on page 63 of the handbook. I decided to make some pink and brown shoes, one of my favorite color combos.


I added tiny little roses to the sides on the buckles. Oh, so cute! I wish I knew someone who was having a baby girl soon. :)
Thanks for stopping by! Now hop on over to Gloria's blog to see what she has created. I know it will be fabulous!

Sunday, August 5, 2012

Artiste in August Day 5

Welcome back! If you have come from Tina's blog you are on the right path. The complete list of bloggers is in my sidebar, in case you get lost or come across a broken link.
Today was another Artist Choice day. I chose to follow along with Gloria, and make the box on page 71 of the handbook.

I used Florenine paper for this project. To be honest, it wasn't my favorite when the idea book first came out, but this paper has really grown on me!


Here is a side view of the box. I really like the shape on the top of this one. I added a piece of Creme Brulee' under the flap, to show you the scalloped edge. The flowers in the corner of this box were also cut with the Artiste cartridge, using the accent 1 shift key on page 54 of the handbook. They were cut at 1 1/2 inches with Twilight card stock. The sentiment was stamped in Creme Brulee' ink, using the Card Chatter birthday stamp set.

Thanks for stopping by! Be sure to hop on over to Gloria's blog to see what she has created!

Saturday, August 4, 2012

Cricut Artiste Blog Hop day 4

Welcome back! If you have come from Tina's Blog you are on the right path!

Today's cut was another optional one, which means you may see several different cuts. I chose to make the cute triangle topped box on page 34 of the handbook.


 This was a very easy box to put together. I used crystal blue cardstock to cut out the base, and Wonderland paper (retired) to embellish the sides.
Isn't this little snowman cute? He is part of a new set, Flakey Friends.

The stamp set on the left is the Flakey Friends set. I also used the Snowflake stamp set, pictured on the right, to make the snowflake hanging from the top of the box. This stamp set is older, but still available.  Several of the snowflakes on this set coordinate with the first CTMH cartridge, Art Philosophy.

Thanks for coming by today! Now, hop on over to Gloria's blog to see what she has created today.

Friday, August 3, 2012

Cricut Artiste blog hop day 3

Welcome to day 3 of the Artiste blog hop! If you came from Tina's blog you are on the right path!

Today, you may see some different shapes on the blog hop, as the shape we chose today was optional. I chose to do the same shape as the blog hop creator, Gloria. Today's cut was the flower pot box on page 54 of the handbook. By the way, if you would like to view the handbook, go here to see the pages.

This flower pot box is ADORABLE. I was able to get two boxes on one page at the fit to page size, by flipping the mat around to get the second cut. I used Lucy paper (retired) to make the box, and simply reversed which side was facing out when I made the folds to create the box.

I cut flowers from this cartridge using the accent 1 button for page 55. They were cut at 3 inches using the real dial size. Using the real dial size was important for this cut, as the flowers were designed as part of another image. If they are not cut at real dial size, they will be tiny at 3 inches. The flowers already have a hole in the center, perfect for threading the sucker through. The flowers were cut on white daisy card stock, and sponged with smoothie and creme brulee' ink. 

Now "hop" on over to Gloria's blog to see what awesome work she has designed for this cut! Remember that if you get lost along the way, the complete blog hop list is in my sidebar. :)

Thursday, August 2, 2012

Artiste Blog Hop day 2

Welcome back to the Artiste blog hop! If you came here from Tina's blog at http://tiggersscrapplace.blogspot.com/ you are on the right path. If you lose track along the way, I have a complete list of the participating bloggers on the right hand side of this blog. Today's cut is the gable box on page 37 of the handbook. This box reminds me of the Munchins boxes from Dunkin' Donuts. My first high school job was at our local Dunkin' Donuts, and I spent a lot of time putting donut holes into those boxes. :) The gable box is the perfect size to hold a mini loaf of bread. I was excited to discover this, as baking is my second favorite hobby. There seems to be a lot of bake sales in my life, due to different activities my children are involved in, and this little box will be just perfect to package small loaves of lemon, banana nut, and pumpkin bread. Here is the front of the box.
I used the Pemberly paper pack to make this box. Outdoor denim cardstock was used to create the box,which was cut with the fit to page feature and the decorative pieces on the front are cut at 2 1/4 by 4 1/2 inches. The fanfold flower was also cut with the Artiste cartridge, on Indian Corn Blue cardstock, at 1 1/4 inches. I used one of the zip strips from the top of the paper to add the decorative strip. It wasn't quite long enough to reach around the box, but the fanfold flower was big enough to cover the gap. The scalloped circle was cut with the Art Philosophy cartridge, and stamped in Indian corn blue ink with the Enjoy stamp set. I made lemon bread to test if the mini loaves would fit. I love anything lemon flavored.
One more picture of the bread in the box, the wax paper is a little funky, but I wanted to make sure the grease from the bread didn't mess up my box.
Thanks for stopping by, be sure to check out the artwork at Gloria's blog at http://www.scraptabulousstudio.com/ See you tomorrow for another great cut from Artiste!

Wednesday, August 1, 2012

Artiste Blog Hop August 1st 2012

Welcome to the CTMH Cricut Artiste cartridge blog hop. If you have come here from Tina's blog http://tiggersscrapplace.blogspot.com/ you are on the right path. If you are starting here, be sure to click on the link at the end of the post to see more of the wonderful artwork that has been created. This cartridge is seriously amazing! Over 700 images,including a font, 3D boxes, cupcake wrappers, 3D flowers, and cards are included on this cartridge. During August, the CTMH consultants who are part of this blog hop will be showcasing items from this cartridge. Today, we are using the mini magazine holder cut. This box, when cut at fit to page, is perfect for holding a set of greeting cards.
I used the retired Superhero paper to make this box. For the cards, I used a new stamp set, named Outta this world. This is a C sized stamp set, and retails for the price of $13.95.
ALL of the images on this stamp set,except for the words, can be cut with the Artiste Cartridge, which makes it very easy to use for cards. I used colonial white card bases, and added Superhero paper to make the card fronts. These cards were super simple to make. I will use these for note cards throughout the school year.
The Artiste cartridge is now available for purchase. The cartridge bundle retails at $99, and includes not only this FABULOUS cartridge, but also 3 stamp sets that coordinate perfectly with the cartridge, as well as three sheets of dimensional chipboard shapes. Please feel free to contact me if you would like more info about this cartridge, or any of the wonderful products CTMH offers! Now hop on over to Gloria's blog at http://www.scraptabulousstudio.com to see more great artwork using the Artiste Cartridge.